Are you ready to cast your line and catch some fish? Before you hit the water, you need to know how to string your fishing pole. The process may seem daunting at first, but with a little practice, you’ll be able to do it with ease.
In this article, we’ll guide you through the steps of stringing a fishing pole so you can be ready to reel in your next big catch.
First things first, let’s talk about choosing the right fishing line. The type of line you use will depend on the type of fishing you’re doing and the species of fish you’re targeting.
Mono, fluorocarbon, and braided lines are all common options. Once you’ve selected your line, it’s time to attach the reel to the rod and thread the line through the rod guides.
Don’t worry, we’ll walk you through each step of the process. So grab your fishing pole and let’s get started!
Choosing the Right Fishing Line
Selecting the appropriate line for your angling equipment is a crucial step toward enhancing your chances of catching fish. There are several types of fishing line to choose from, including monofilament, fluorocarbon, and braided lines. Each type offers unique benefits and drawbacks, so it’s important to consider your specific needs and preferences when making a selection.
When choosing a fishing line, it’s also important to consider line weight considerations. The weight of your line should be appropriate for the type of fish you are targeting and the conditions in which you will be fishing. A lighter line is generally better for smaller fish and clear water, while a heavier line is better for larger fish and dirty water.
In addition to line weight, there are also line color options to consider. While color may seem like a minor detail, it can actually make a big difference in your fishing success. In clear water, a clear or natural colored line may be best, while in murky water, a darker line may be more effective.
Ultimately, the key is to choose a line that matches the conditions in which you will be fishing and that will not spook the fish.
Attaching the Reel to the Rod
Now that you’ve got your reel and rod, it’s time to put them together and get ready to reel in the big one!
The first step is to properly place the reel onto the rod. Most reels have a small foot that fits into a corresponding slot on the rod. Make sure the reel is aligned with the rod and then tighten the screws to secure it in place. Be careful not to overtighten the screws as this can damage the rod.
Once the reel is attached, it’s important to check the line tension. You want to make sure that the line is not too loose or too tight on the spool. If it’s too loose, it can become tangled or create backlashes. If it’s too tight, it can put unnecessary strain on the reel and decrease casting distance.
Adjust the line tension by using the drag system on the reel.
The final step is to tie the fishing line onto the reel. There are various knots that can be used, but the most common is the arbor knot. This knot creates a strong connection between the line and the spool and prevents slippage. Once the knot is tied, give the line a firm tug to ensure it’s secure.

Threading the Line Through the Rod Guides
It’s time to thread the line through the guides on the rod, making sure to pass it through each one in a smooth and orderly fashion. Before starting, ensure that the line is properly tied to the reel and that there is enough line to reach the end of the rod.
Also, you need to consider line tension while threading the line through the guides. Keep the line taut as you thread it through each guide to avoid any tangles or knots.
As you thread the line through each guide, pay attention to the angle of the rod. Hold the rod at an angle that allows the line to glide smoothly through the guides without any snags or obstructions. If you notice any resistance or friction, adjust the angle of the rod accordingly.
Additionally, consider using knot lubrication to make the process even smoother and prevent any damage to the line.
Once you’ve threaded the line through all the guides, double-check that it’s properly secured and that there are no knots or tangles. Take a moment to appreciate the guide spacing, which ensures that the line is evenly distributed along the length of the rod.
With the line properly threaded through the rod guides, you’re now ready to cast your line and start fishing.
Connecting the Reel and Rod
Connecting the reel and rod is like putting together the final piece of a puzzle, completing the perfect set up for a successful day of angling. Before you start, make sure the reel is properly aligned with the guides on the rod. If the alignment is off, it can cause issues with casting accuracy and line sensitivity.
Once aligned, choose the knot option that works best for you to attach the reel to the rod.
Next, ensure that there is proper tension on the line. You want enough tension to keep the line from slipping off the reel, but not so much that it restricts casting distance or causes the line to break. Adjust the tension by turning the knob located on the reel handle. It may take some practice to find the right balance of tension.
Lastly, consider the balancing weight of the rod and reel. This is important to ensure that the rod is not too heavy and causes fatigue during a long day of fishing. It can also affect the sensitivity of the line, which is crucial for feeling bites and setting the hook. Adjust the weight distribution by moving the reel forward or backward on the rod until it feels comfortable in your hands.
By following these steps, you can connect the reel and rod with ease, ensuring a successful day of fishing. Remember to take your time and make adjustments until everything feels just right. Happy angling!
Securing the Fishing Line to the Reel
Make sure you securely attach your line to the reel using the knot of your choice, so you don’t lose your catch. Before tying knots, make sure that the line tension is not too tight or too loose. This will help prevent line twist and ensure that the line capacity is not exceeded.
Take extra care when tying knots, as any mistakes can lead to lost fish or even a broken line. When securing the line to the reel, it is important to maintain proper line tension. This will help prevent the line from slipping or getting tangled. To ensure that the line is properly tensioned, use your fingers to hold the line against the reel while winding it onto the spool.
This will also help prevent the line from becoming twisted or coiled, which can be difficult to fix. Proper line maintenance is also important for securing the line to the reel. Make sure to regularly check the line for any damage or wear and replace it as necessary. Keep the line clean and dry, as dirt and moisture can weaken the line and cause it to break.
By following these tips, you can securely attach your line to the reel and be ready for a successful day of fishing.
Spooling the Line onto the Reel
You’ll need to spool your line onto the reel in order to be prepared for your next catch! Before you start, make sure that the tension control on your reel is set properly. This’ll help prevent any line twist or tangling issues.
You’ll also want to make sure that your reel has enough line capacity for your needs, and that you’re using the correct line type and weight for the type of fishing you’ll be doing.
To start spooling your line onto the reel, attach the end of your line to the spool. You can do this by tying a knot or using a line clip. Once your line is secure, begin reeling it onto the spool.
Make sure to keep a steady tension on the line as you reel it in, and try to distribute the line evenly across the spool. This will help prevent any tangles or knots from forming.
As you spool your line onto the reel, periodically check for any twists or tangles. If you notice any issues, stop reeling and untangle the line before continuing.
Once you’ve spooled enough line onto the reel, you can cut the line and tie on your hook or lure. With your line properly spooled onto your reel, you’ll be ready for your next fishing adventure!

Testing the Line for Weak Spots
Before heading out to catch the big one, it’s important to check your line for weak spots that could leave you feeling disappointed. Identifying weaknesses in your line is an essential part of line maintenance and tackle care.
Here are some testing techniques and fishing tips to help you determine if your line is up for the challenge:
- Run your fingers along the entire length of the line, feeling for any nicks, abrasions, or bumps. These can be caused by rocks, debris, or even the fish’s teeth. If you feel anything out of the ordinary, it’s best to cut off that section and tie on a new piece.
- Hold the line up to the light and look for any frayed or fuzzy areas. This can occur when the line rubs against other objects or when it’s been on the reel for too long. If you see any, trim them off with a sharp pair of scissors.
- Give the line a good stretch. If it snaps easily, it’s time to replace it. However, if it stretches without breaking, it’s a good sign that it’s still strong enough to withstand a fight with a big fish.
By taking the time to test your line for weak spots, you’ll be able to fish with confidence knowing that your tackle is in good condition. Don’t let a weak line ruin your chances of reeling in a trophy catch. With these fishing tips and testing techniques, you’ll be well on your way to a successful day on the water.
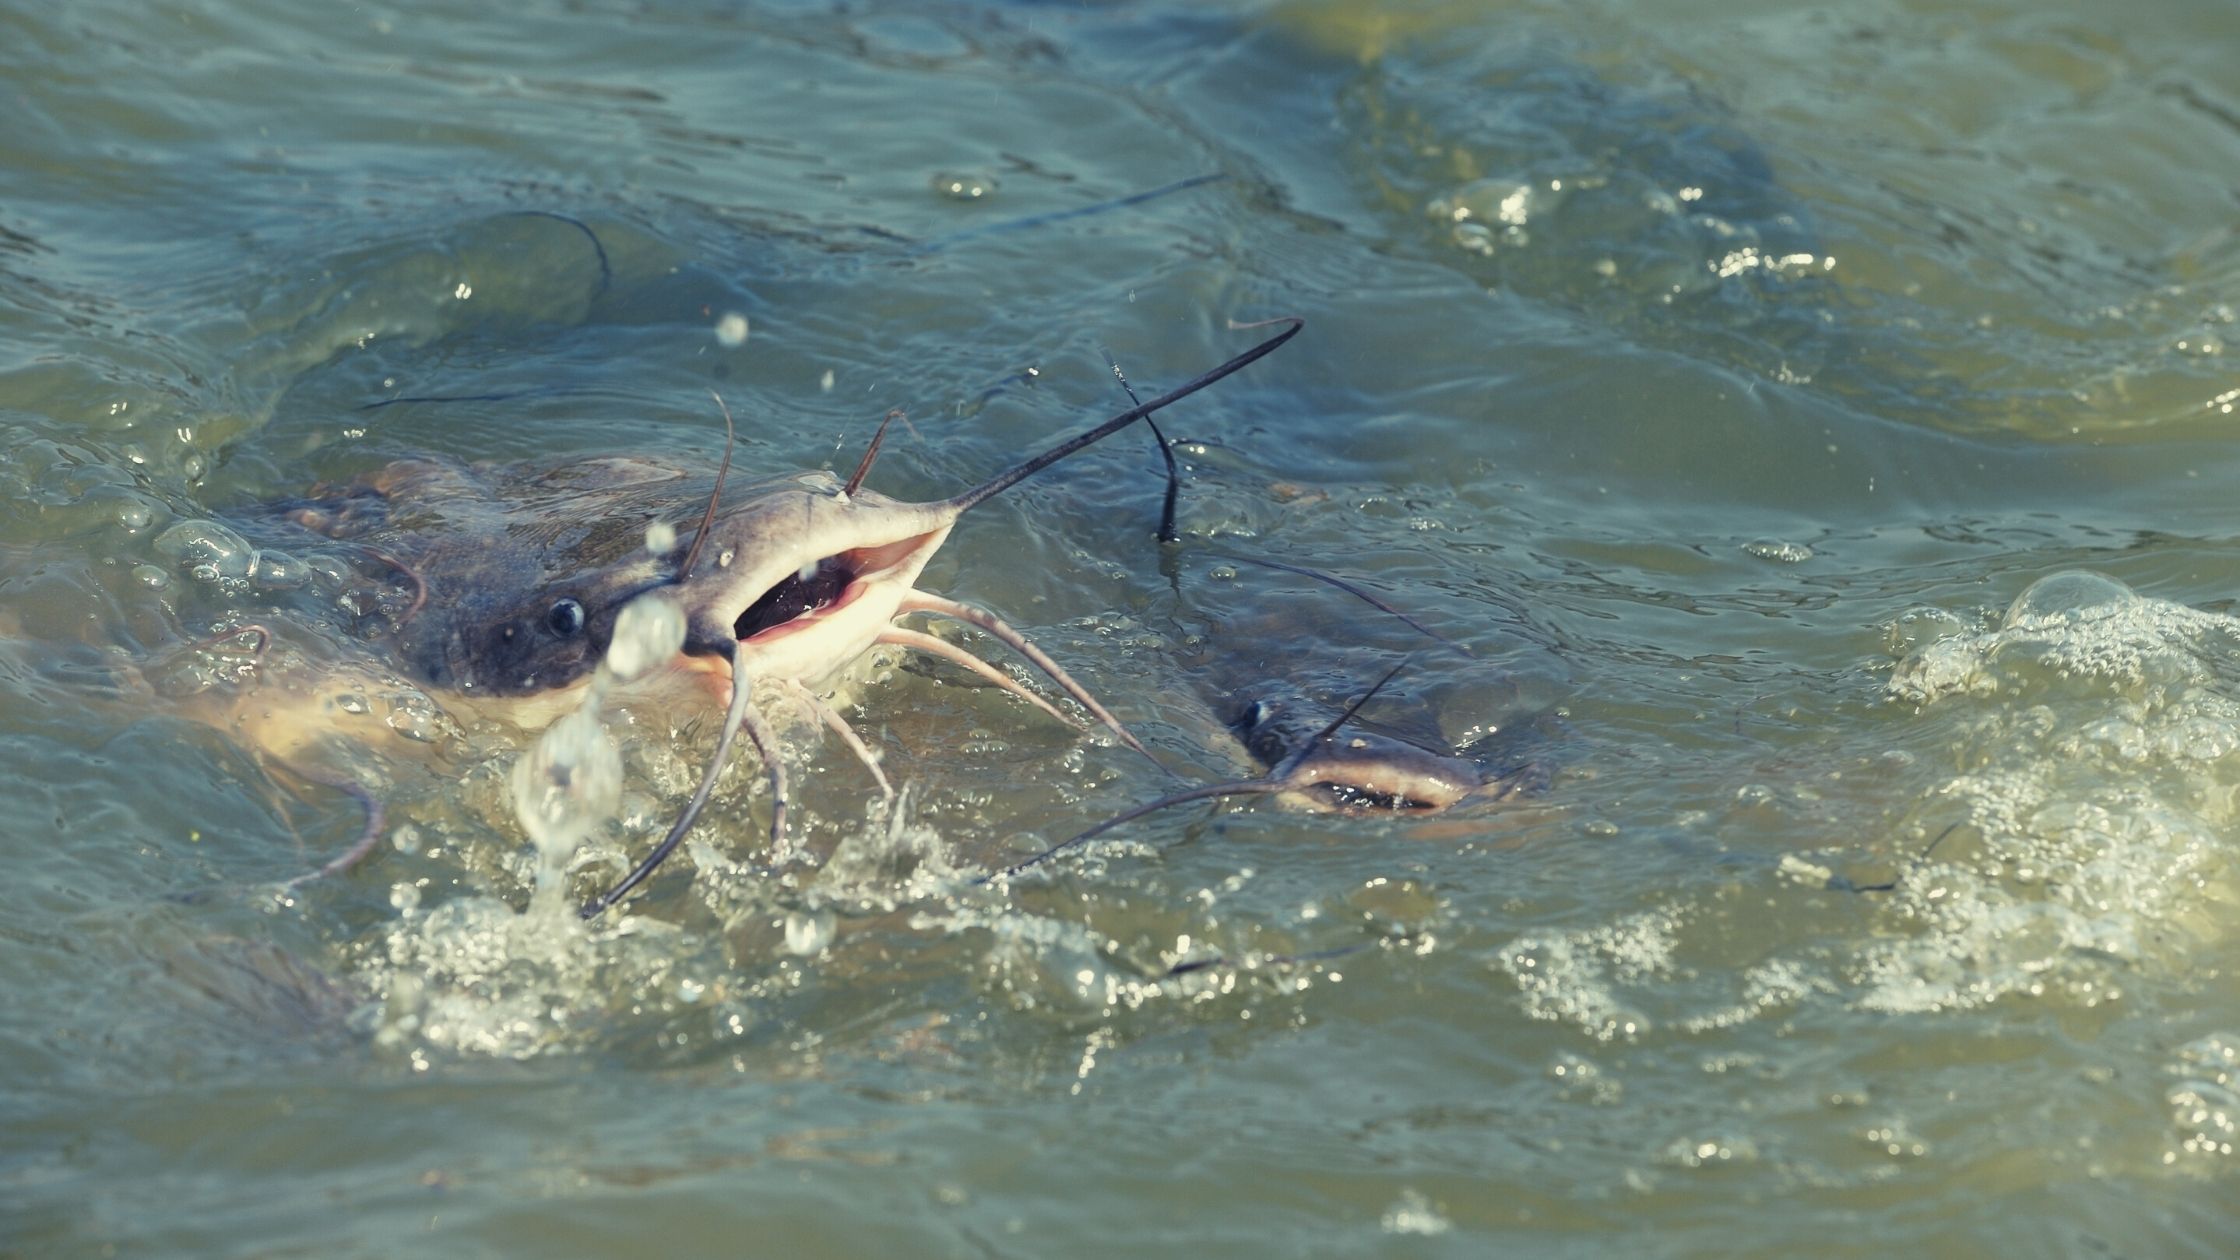
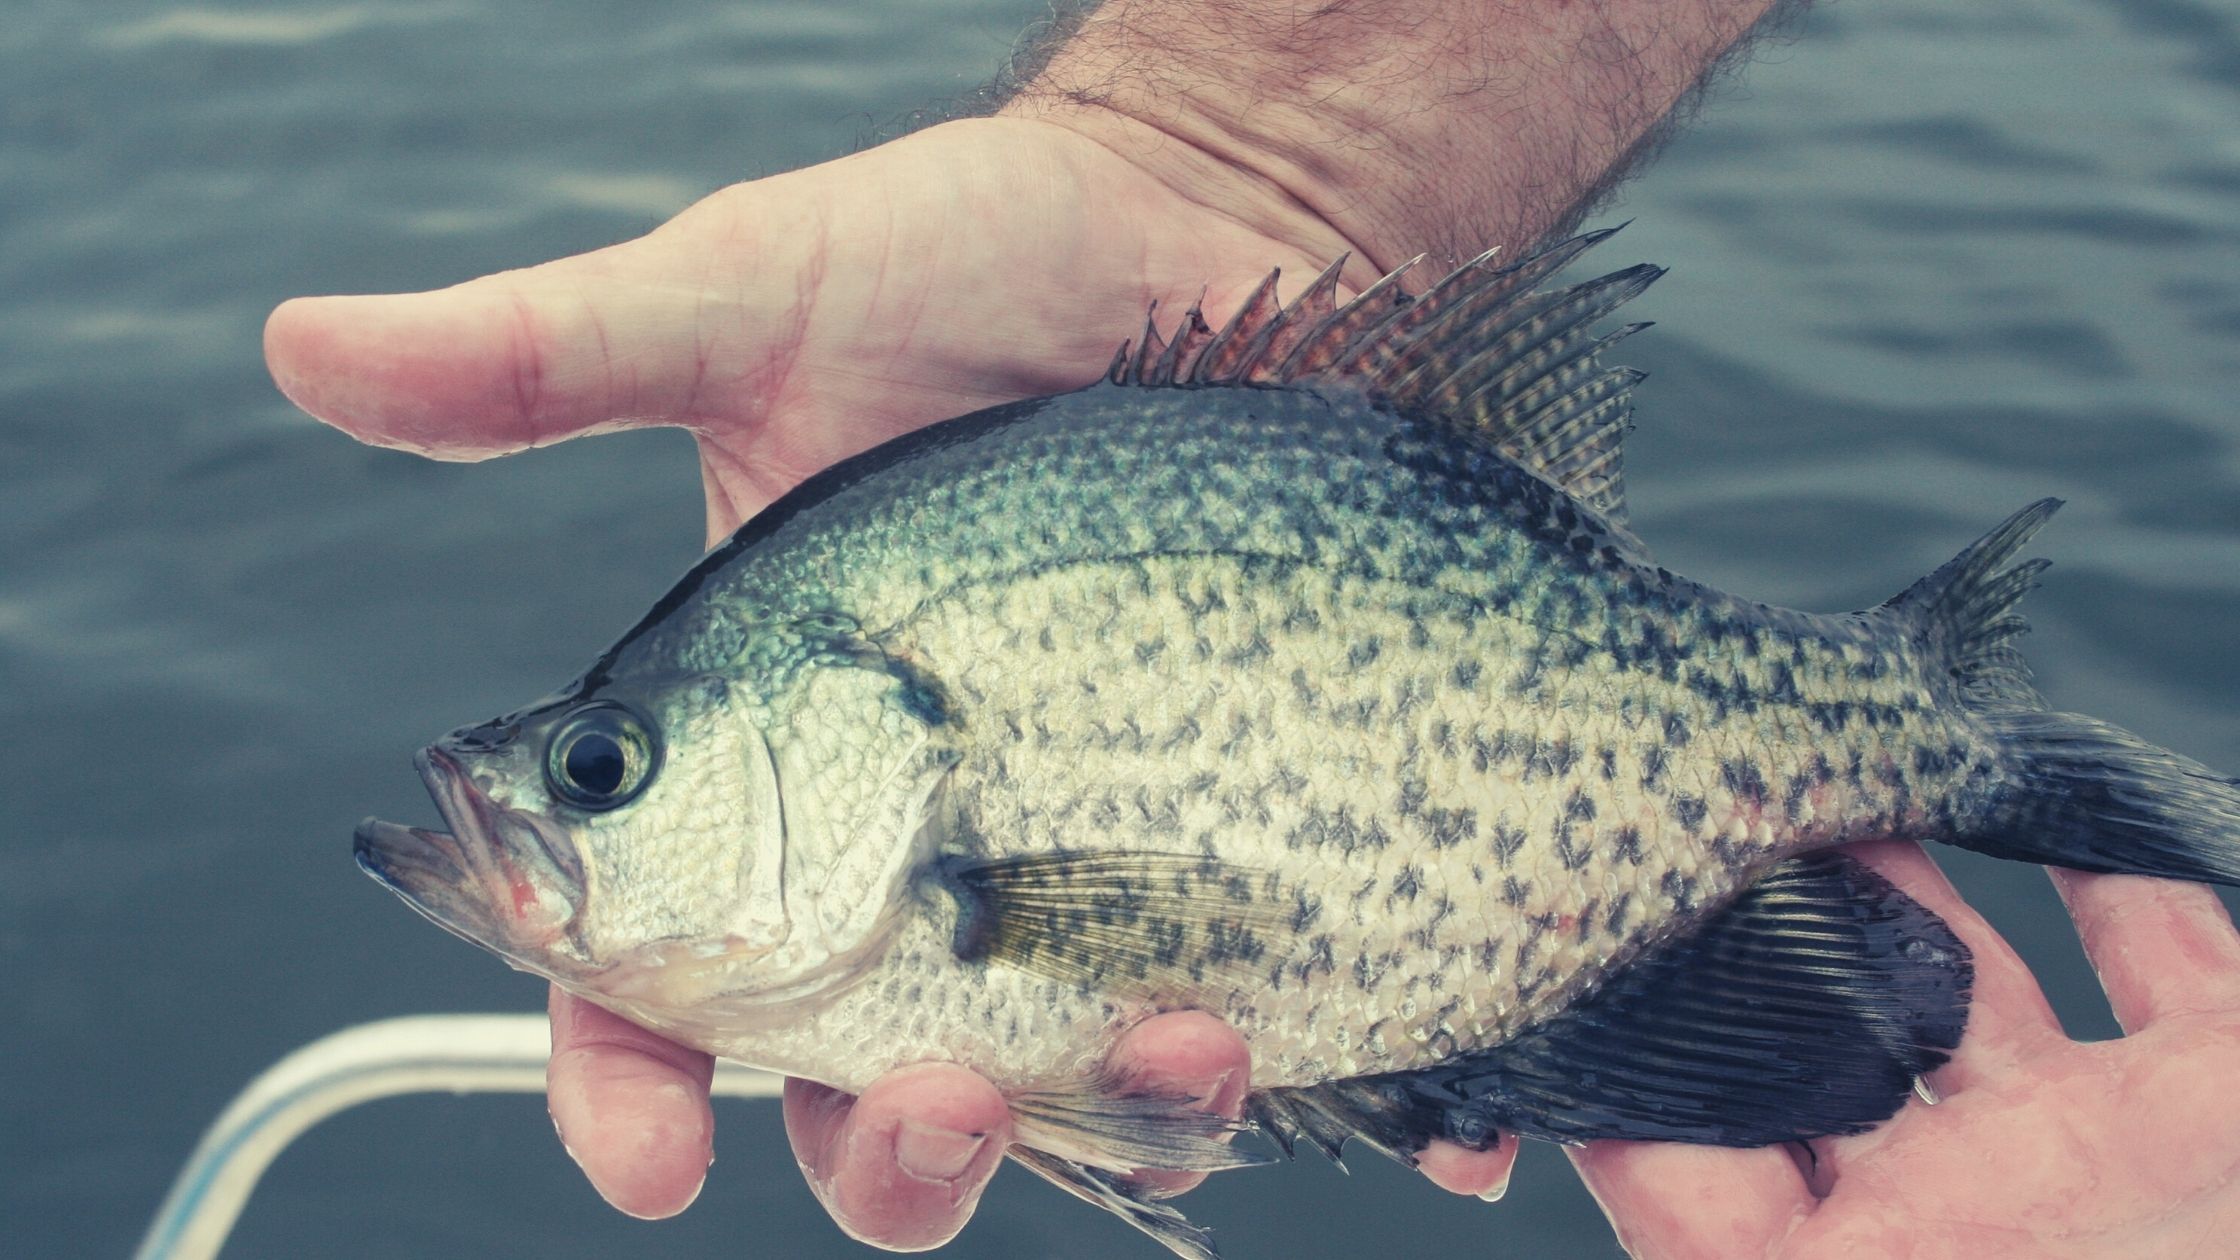
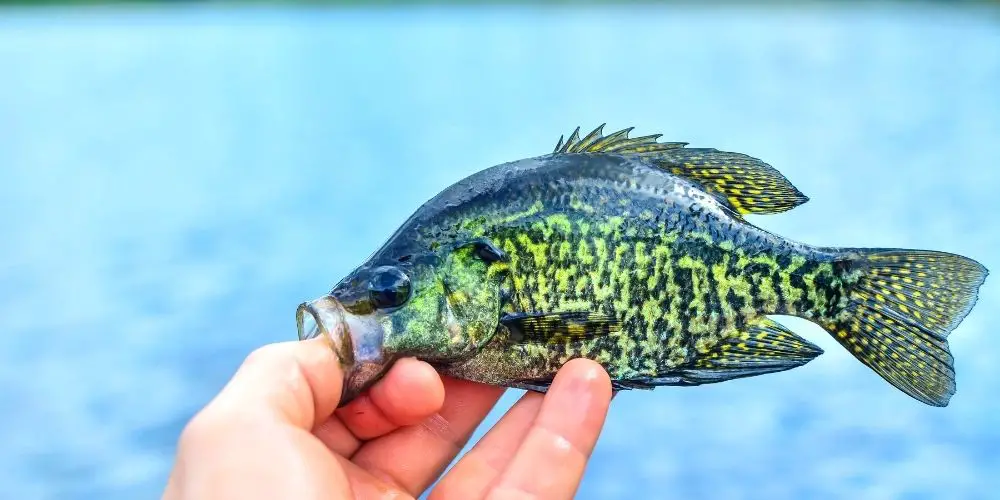
Adding a Fishing Lure or Bait
As you cast your line into the water, the anticipation builds as you carefully select the perfect lure or bait to entice the fish. The type of bait or lure you use depends on your preference and the type of fish you are targeting. Below is a table that can help you with bait selection and lure presentation:
| Fish Species | Bait | Lure |
|---|---|---|
| Bass | Live bait like worms or minnows | Topwater lures, spinnerbaits, or jigs |
| Trout | Salmon eggs or worms | Spoons, spinners, or flies |
| Catfish | Stink bait or chicken liver | Jigheads or plastic worms |
Once you have selected the perfect bait or lure, you need to ensure that you are using the right hook size. The hook size will depend on the size of the fish you are targeting. A smaller hook is suitable for smaller fish, while a larger hook is required for bigger fish. Additionally, you need to adjust the depth of your bait or lure based on the water conditions and the fish behavior. You can use a bobber or sinker to control the depth of your bait or lure.
Finally, as you cast your line, you need to use the right casting technique. The right casting technique will ensure that your bait or lure lands in the right spot and attracts the fish. You need to use a smooth and controlled motion while casting your line. Avoid jerky movements that can scare the fish away. With these tips, you are sure to catch the fish you want.
Frequently Asked Questions
What is the best type of knot to tie when attaching the fishing line to the reel?
When it comes to attaching your fishing line to the reel, there are a variety of knots to choose from.
Many anglers swear by the Palomar knot, which is easy to tie and offers excellent strength.
Others prefer the Uni knot, which is versatile and can be used for a variety of applications.
If you’re considering different types of line, you may want to think about the benefits of braided line, which is strong and sensitive but can be difficult to tie knots with, or the pros and cons of using fluorocarbon, which is almost invisible underwater but can be more expensive.
When it comes down to it, the choice of knot will depend on your personal preference and the type of fishing you’re doing.
Some anglers like the improved clinch knot, while others prefer the double uni knot.
Regardless of which knot you choose, make sure you practice tying it until you feel confident in your ability to do so.
How do I know how much fishing line to spool onto my reel?
So, you want to know how much fishing line to spool onto your reel?
Well, first things first, let’s make sure you understand the intricacies of line tension, spooling speed, reel capacity, line thickness, and fishing conditions. Because, you know, those are just minor details when it comes to catching fish.
But, fear not, my eager angler, with a little bit of practice and a lot of patience, you’ll soon be a pro at determining the perfect amount of line to spool onto your reel.
Just remember, it’s not about the destination, it’s about the journey (and catching some fish along the way).
Can I use the same fishing line for different types of fish?
When considering using the same fishing line for different species of fish, it’s important to take into account factors such as line strength, fishing techniques, water conditions, and bait selection.
Different species of fish have different habits and behaviors, which means that they may require different types of fishing line in order to be caught successfully. Additionally, the strength of the line you use will depend on the size and weight of the fish you’re targeting, as well as the type of fishing technique you’re using.
Ultimately, the best way to determine whether or not you can use the same fishing line for different types of fish is to do your research and talk to experienced anglers about their own experiences and recommendations.
What should I do if my fishing line gets tangled while spooling onto the reel?
If your fishing line gets tangled while spooling onto the reel, it can be frustrating and time-consuming to fix. But fear not, there are several untangling techniques you can use to get your line back in order.
First, make sure you’re using proper spooling technique, as common line tangle mistakes can easily be avoided. Additionally, using a line conditioner can help prevent future tangles and line twists.
If you do find yourself with a tangled mess, start by gently pulling on the line to loosen any knots. If that doesn’t work, try using a toothpick or needle to carefully tease out any snarls. Remember, patience is key when untangling fishing line.
How often should I replace my fishing line?
When it comes to fishing, it’s important to know when it’s time to replace your fishing line. Line durability is crucial, as weak lines can easily break during a catch. Additionally, line color can fade over time, making it difficult to detect bites.
UV damage can weaken the line, so it’s important to store your equipment properly. Abrasion resistance is also important, as rocky or rough surfaces can easily wear down your line. Finally, water absorption can weaken your line and make it more prone to breaking.
It’s recommended to replace your fishing line every season or after a few uses, depending on how frequently you fish and how well you take care of your equipment. Keep an eye out for signs of wear and tear, such as fraying or knots, and replace your fishing line as needed.
Conclusion
Congratulations! You’ve successfully strung your fishing pole. Now you’re ready to catch those fish you’ve been dreaming of.
With the right fishing line, reel, and rod, you’ll be able to go out there and reel in your catch of the day. Remember to test the line for weak spots and use a fishing lure or bait to attract your target fish.
As you cast your line into the water, imagine yourself as a skilled angler, patiently waiting for the perfect catch. You’re like a hunter, stalking your prey, but instead of a rifle, you have your trusty fishing pole.
With a flick of your wrist, you send your bait flying through the air, and as it hits the water’s surface, you feel the thrill of excitement. You wait, feeling the tug of the line, and then, with a quick jerk, you reel in your catch, feeling the weight of the fish in your hands.
Happy fishing!